Author: Vortex VT

How to Prepare Your Vehicle for Accurate Dyno Testing

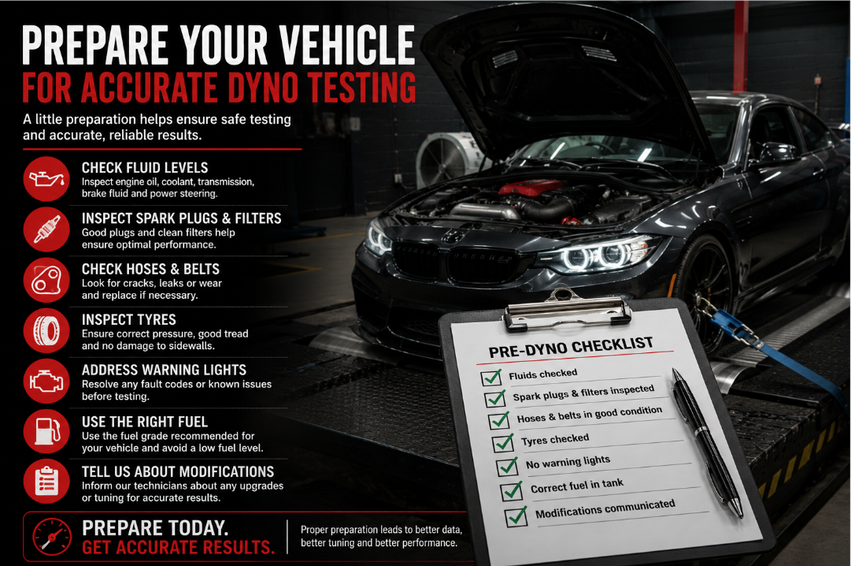
Prepare Your Vehicle for Accurate Dyno Testing

Prepare Properly Before Putting Your Vehicle to the Test

A dyno test places a vehicle under controlled load to measure performance. Because the vehicle may operate at high engine speeds and under significant load during testing, its mechanical condition should be checked beforehand.

Arriving with worn tyres, low fluid levels, damaged belts, or an existing mechanical problem could affect the test and potentially prevent it from being completed safely.

Preparing your vehicle correctly helps create more reliable testing conditions and allows the dyno session to focus on measuring performance.

1. Check Your Engine Oil and Fluids

Start by checking the basic condition of the vehicle.

Before dyno testing, check:

Engine oil level and condition
Coolant level
Transmission fluid where applicable
Brake fluid
Power steering fluid where applicable

Leaks should also be investigated before testing.

A vehicle with low fluid levels, contaminated fluids, or an active leak should be inspected before being subjected to demanding test conditions.

2. Inspect Spark Plugs and Filters

Good combustion and unrestricted airflow are important when evaluating engine performance.

Check the condition of:

Spark plugs
Air filter
Fuel filter where applicable
Oil filter

Worn spark plugs can contribute to poor combustion or misfires, while a heavily restricted air filter may limit airflow.

Starting with correctly maintained components helps ensure the results better represent the vehicle’s actual performance.

3. Check Hoses and Belts

Belts and hoses can deteriorate with age, temperature, and normal vehicle use.

Inspect for:

Cracking
Fraying
Loose connections
Bulging hoses
Coolant leaks
Signs of excessive wear

A component that is already close to failure may struggle when the engine is placed under load.

Replacing obviously worn components beforehand can help avoid interruptions during testing.

4. Inspect Your Tyres

For chassis dyno testing, tyre condition is particularly important because the tyres interact directly with the rollers.

Before testing:

Check tyre pressure
Inspect tread condition
Look for cuts or sidewall damage
Confirm tyres are suitable for the vehicle
Make sure wheels and tyres are in safe condition

Poor tyre condition can create a safety concern and may affect how consistently the vehicle performs during the test.

5. Address Existing Warning Lights and Performance Problems

A dyno session should not be used as a substitute for repairing known mechanical problems.

Before testing, pay attention to:

Engine warning lights
Transmission warning lights
Misfires
Overheating
Fluid leaks
Unusual noises
Severe vibrations

If the vehicle already has a known fault, diagnostic testing may be required before a performance run is appropriate.

6. Make Sure the Vehicle Has Suitable Fuel

Fuel quality can influence engine performance, particularly on vehicles that have been tuned or require a specific fuel grade.

Before arriving for the test:

Use the fuel recommended for the vehicle
Avoid arriving with an almost empty tank
Use the same fuel normally used when comparing results
Tell the technician about relevant modifications or tuning

Consistency is especially useful when comparing dyno results from different testing sessions.

7. Tell the Technician About Vehicle Modifications

The technician should know about modifications that could affect the test.

Mention relevant changes such as:

Engine modifications
Turbocharger or supercharger upgrades
ECU tuning
Exhaust modifications
Transmission modifications
Fuel system upgrades

Providing accurate information helps technicians understand the vehicle setup and interpret the results appropriately.

Pre-Dyno Testing Checklist

CheckWhat to Look For
FluidsCorrect levels, good condition, no obvious leaks
Spark plugsCorrect type and suitable condition
FiltersClean and unrestricted
Belts and hosesNo cracks, leaks, or excessive wear
TyresCorrect pressure and safe condition
Warning lightsInvestigate active faults before testing
FuelCorrect grade and adequate quantity
ModificationsInform technician before testing

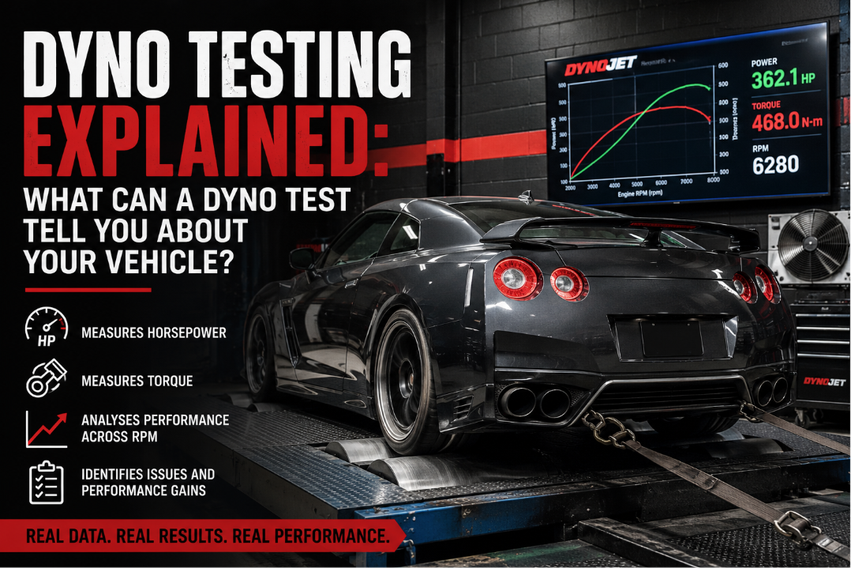
Dyno Testing Explained: What Can a Dyno Test Tell You About Your Vehicle?

Dyno Testing Explained

Understand What Is Really Happening With Your Vehicle’s Performance

Knowing how a vehicle feels on the road does not always provide an accurate picture of how well it is performing. A vehicle may feel powerful during acceleration, but without measurable data it can be difficult to determine how efficiently that power is being produced and delivered.

Dyno testing provides measurable information about vehicle performance under controlled conditions. Using a dynamometer, technicians can assess factors such as horsepower, torque, engine behaviour, and power delivery.

For performance vehicles, modified cars, and drivers investigating performance concerns, dyno testing can provide valuable information that ordinary road driving cannot.

1. What Is Dyno Testing?

A dynamometer, commonly known as a dyno, is equipment used to measure the performance of a vehicle or engine.

During a dyno test, the vehicle operates under controlled load conditions while specialised equipment records performance data.

Depending on the type of test being performed, technicians can assess:

Horsepower output
Torque output
Engine speed
Power delivery
Performance across different RPM ranges

Instead of relying solely on how the vehicle feels, a dyno provides measurable results that can be analysed.

2. Understanding Horsepower

Horsepower is one of the most commonly discussed measurements when evaluating vehicle performance.

It represents the rate at which the engine can produce power and is particularly useful when evaluating performance at higher speeds.

Dyno testing can help determine:

Peak horsepower
Where maximum power occurs in the RPM range
How consistently power is delivered
Whether modifications have changed power output

Rather than focusing only on the highest number achieved, technicians can examine the entire power curve to better understand vehicle performance.

3. Understanding Torque

Torque measures rotational force and plays an important role in acceleration and pulling ability.

Torque is particularly noticeable when:

Accelerating from lower speeds
Climbing inclines
Carrying additional load
Responding to throttle input

A dyno test shows how torque develops across the RPM range, helping technicians understand where the vehicle produces its strongest pulling power.

4. Identifying Performance Irregularities

Dyno testing is not only about determining maximum horsepower.

The data produced during a test may also help reveal irregularities in how the vehicle delivers power.

These can include:

Unexpected drops in power
Inconsistent acceleration
Irregular torque delivery
Performance changes at specific RPM points

Further diagnostic testing may then be required to establish the underlying cause.

5. Measuring the Results of Performance Changes

Dyno testing can also be useful when assessing modifications or adjustments made to a vehicle.

Comparing before and after results provides measurable information rather than relying on driver perception alone.

Testing can help determine whether changes have:

Improved horsepower
Changed torque delivery
Affected power across the RPM range
Created unexpected performance issues

This makes dyno testing a useful tool when evaluating performance changes.

Dyno Testing Measurement Guide

MeasurementWhat It Helps Assess
HorsepowerOverall power output
TorqueRotational force and pulling performance
RPMPerformance across the engine speed range
Power curveHow consistently power is delivered
Before and after resultsEffect of modifications or adjustments

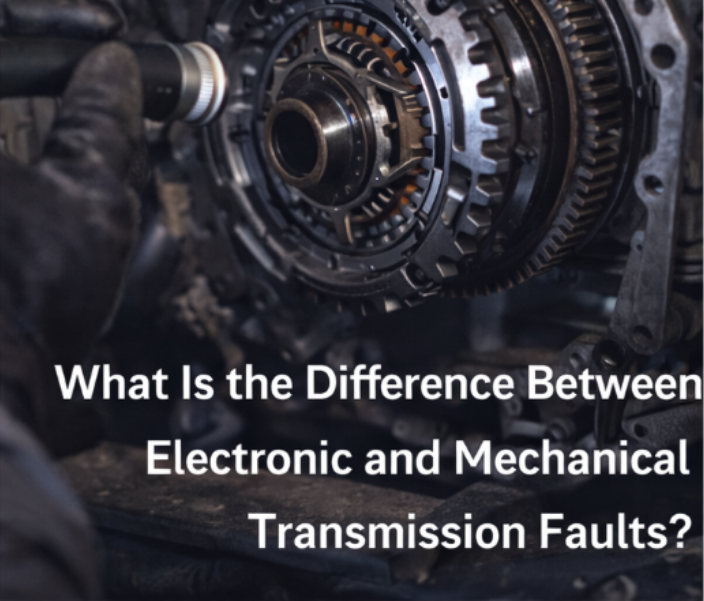
What Is the Difference Between Electronic and Mechanical Transmission Faults?

Difference Between Electronic and Mechanical Transmission Faults

Identify the Type of Problem Before It Becomes Costly

Transmission problems can come from two main sources: electronic faults or mechanical damage. Understanding the difference between the two is essential for accurate diagnosis and repair.

Misidentifying the issue can lead to unnecessary repairs, increased costs, and ongoing performance problems.

Knowing how these faults differ helps ensure the right solution is applied from the start.

1. What Are Electronic Transmission Faults

Electronic faults involve issues with the control systems that manage transmission operation.

These may include:

Faulty sensors
Wiring issues
Software errors
Transmission control module failures

These faults affect how the transmission behaves rather than the physical components.

2. What Are Mechanical Transmission Faults

Mechanical faults involve physical damage or wear inside the transmission.

Common issues include:

Worn gears
Damaged clutches
Bearing failure
Internal component wear

These problems require repair or replacement of parts.

3. How Symptoms Differ Between Fault Types

Each type of fault produces different symptoms.

Electronic faults often cause:

Erratic or inconsistent shifting
Warning lights
Sudden performance changes

Mechanical faults typically cause:

Grinding or unusual noises
Slipping gears
Loss of power
Vibration during operation

Understanding these differences helps guide diagnosis.

4. Why Accurate Diagnosis Is Important

Correctly identifying the fault type ensures:

Faster repairs
Lower repair costs
Reduced downtime
Prevention of further damage

Diagnostic testing is essential to confirm the source of the problem.

5. How to Prevent Transmission Faults

To reduce the risk of both fault types:

Perform regular maintenance
Keep fluid clean and at correct levels
Address warning signs early
Schedule routine diagnostics

Preventative care protects both electronic and mechanical components.

Transmission Fault Comparison Checklist

Fault TypeCharacteristics
ElectronicSensor or control issues
MechanicalPhysical wear or damage
Electronic symptomsErratic shifting, warning lights
Mechanical symptomsNoise, slipping, vibration
DiagnosisRequires testing and inspection

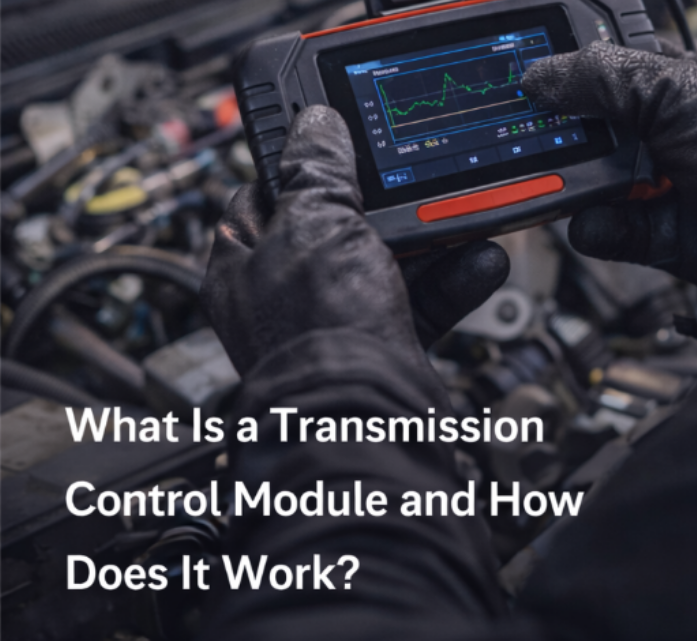
What Is a Transmission Control Module and How Does It Work?

What Is a Transmission Control Module

Understand the Electronic System Behind Smooth Gear Shifting

Modern transmissions rely on more than just mechanical components. The Transmission Control Module, or TCM, is the electronic system responsible for controlling gear changes, pressure, and timing.

It works with sensors and other vehicle systems to ensure smooth, efficient performance. When functioning correctly, it improves fuel efficiency, driving comfort, and overall reliability.

Understanding how the TCM works helps identify issues early and maintain proper transmission performance.

1. What the Transmission Control Module Does

The TCM acts as the brain of the transmission.

It is responsible for:

Controlling gear shifts
Managing hydraulic pressure
Coordinating with the engine system
Monitoring transmission performance

This ensures the gearbox responds correctly to driving conditions.

2. How the TCM Uses Sensor Data

The TCM receives data from various sensors to make decisions.

These include:

Speed sensors
Throttle position sensors
Temperature sensors
Brake and load inputs

Using this information, the TCM adjusts shifting patterns in real time.

3. Why the TCM Is Important for Performance

A properly functioning TCM ensures:

Smooth and timely gear changes
Improved fuel efficiency
Reduced wear on internal components
Better response under load

Without it, the transmission would operate inefficiently.

4. Signs of TCM Issues

When the TCM begins to fail, performance problems appear.

Watch for:

Delayed or harsh shifting
Transmission stuck in one gear
Warning lights on the dashboard
Erratic shifting behaviour

These symptoms require immediate inspection.

5. Maintaining TCM Performance

To keep the system functioning correctly:

Perform regular diagnostics
Ensure electrical connections are secure
Maintain proper fluid condition
Address warning signs early

Proper care prevents electronic and mechanical failures.

Transmission Control Module Checklist

ComponentFunction
TCMControls transmission operation
SensorsProvide real-time data
SolenoidsRegulate hydraulic pressure
WiringConnects system components
SoftwareControls shift logic

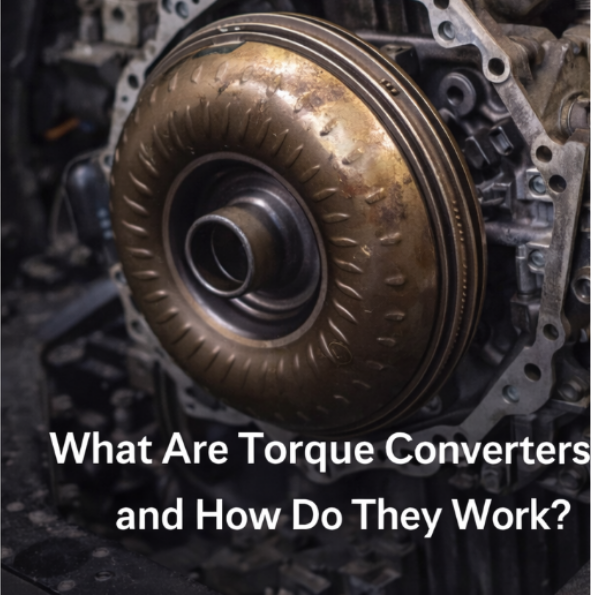
What Are Torque Converters and How Do They Work?

Torque Converters and How Do They Work

What Are Torque Converters and How Do They Work?

Understand the Component That Transfers Power in Your Transmission

The torque converter is a key component in automatic transmissions. It connects the engine to the gearbox and allows the vehicle to move without the need for a manual clutch.

By transferring and multiplying engine power, the torque converter plays a major role in performance, efficiency, and smooth driving.

Understanding how it works helps identify problems early and maintain your transmission properly.

1. The Role of a Torque Converter

A torque converter transfers power from the engine to the transmission using fluid rather than direct mechanical contact.

It allows the vehicle to:

Move smoothly from a stop
Maintain engine operation while stationary
Adjust power delivery based on load

This makes automatic driving more efficient and comfortable.

2. Key Components Inside a Torque Converter

A torque converter consists of several important parts.

These include:

Impeller connected to the engine
Turbine connected to the transmission
Stator that improves torque efficiency
Transmission fluid that transfers energy

Each component works together to ensure smooth power transfer.

3. How Torque Multiplication Works

At low speeds, the torque converter increases the amount of power delivered to the wheels.

This is especially useful when:

Starting from a stop
Climbing hills
Carrying heavy loads

As speed increases, the system shifts to efficient power transfer rather than multiplication.

4. Signs of Torque Converter Problems

A failing torque converter can affect overall transmission performance.

Watch for:

Shuddering or vibrations
Slipping gears
Overheating
Poor acceleration
Unusual noises

These signs indicate the need for inspection.

5. Why Maintenance Is Important

Regular maintenance helps extend the life of the torque converter.

Ensure:

Transmission fluid is clean and at correct levels
Cooling systems are functioning properly
Diagnostics are performed regularly

Proper care prevents costly repairs.

Torque Converter Function Checklist

ComponentFunction
ImpellerMoves fluid from engine
TurbineTransfers power to transmission
StatorIncreases torque efficiency
FluidEnables energy transfer
HousingContains system

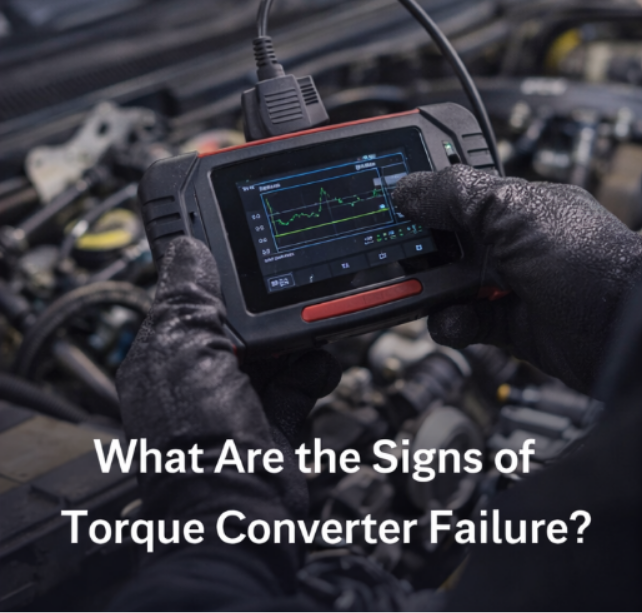
What Are the Signs of Torque Converter Failure?

Signs of Torque Converter Failure

Identify Problems Early Before Major Transmission Damage OccursTorque converter failure can lead to serious transmission issues if not addressed early. Because it plays a critical role in power transfer, any malfunction affects overall vehicle performance.Recognising warning signs early helps prevent further damage and reduces repair costs.Knowing what to look for allows you to take action before the problem worsens.1. Shuddering or VibrationsOne of the most common signs of torque converter failure is vibration during acceleration.Look for:Shaking at low speeds Vibration when changing gears Uneven power deliveryThis indicates the converter is not transferring power smoothly.2. Slipping TransmissionIf the transmission struggles to maintain power, the torque converter may be failing.Watch for:Sudden changes in speed Loss of acceleration Engine revving without movementSlipping reduces efficiency and increases wear.3. Overheating TransmissionA faulty torque converter can cause overheating.Check for:High temperature readings Warning lights Reduced performance under loadOverheating can quickly damage internal components.4. Unusual NoisesNoise from the transmission area often signals internal problems.Common sounds include:Whining Grinding ClunkingThese noises should be inspected immediately.5. Poor Fuel EfficiencyWhen the torque converter is not functioning correctly, the engine works harder.Signs include:Increased fuel consumption Reduced efficiency Sluggish performanceThis impacts operating costs over time.Torque Converter Failure Checklist

Warning SignWhat It MeansVibrationsPoor power transferSlippingLoss of efficiencyOverheatingCooling failureNoiseInternal damageHigh fuel useReduced performance

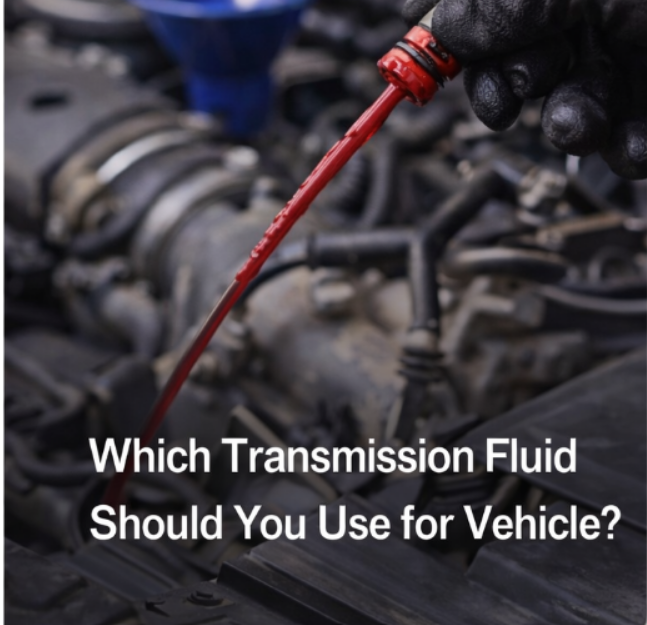
Which Transmission Fluid Should You Use for Your Vehicle?

Transmission Fluid Should You Use

Choose the Right Fluid Before Problems Start

Transmission fluid is essential for keeping your gearbox running smoothly. It lubricates internal components, controls heat, and allows for precise gear changes.

Using the wrong type of transmission fluid can lead to poor performance, overheating, and long-term damage. Each transmission is designed to work with a specific fluid, and selecting the correct one ensures reliability and efficiency.

Making the right choice early helps prevent costly repairs and keeps your vehicle performing at its best.

1. Understand Different Types of Transmission Fluid

Not all transmission fluids are the same. Each type is designed for specific systems and operating conditions.

Common types include:

Dexron fluids used in many standard automatic transmissions
Mercon fluids designed for specific manufacturer requirements
Synthetic fluids for improved heat resistance and durability
CVT fluids for continuously variable transmissions
Dual-clutch fluids for high-performance gearboxes

Using the correct type ensures proper lubrication and smooth operation.

2. Check Manufacturer Specifications

Every vehicle has specific fluid requirements based on its transmission design.

Always:

Refer to the vehicle manual
Use recommended fluid grades
Avoid mixing different fluid types

Ignoring manufacturer guidelines can lead to shifting problems and internal wear.

3. Consider Driving and Operating Conditions

The way a vehicle is used affects fluid performance.

Take into account:

Heavy loads or towing
Frequent stop-start driving
High-temperature environments
Long operating hours

More demanding conditions may require higher-quality or synthetic fluids.

4. Watch for Signs of Incorrect Fluid Use

Using the wrong fluid often leads to noticeable performance issues.

Look for:

Slipping gears
Delayed or rough shifting
Overheating
Reduced fuel efficiency
Unusual transmission noise

If these symptoms appear, the fluid should be checked immediately.

5. Replace Fluid at Recommended Intervals

Even the correct fluid degrades over time and must be replaced.

Follow service guidelines and replace fluid when:

It becomes dark or burnt
Performance starts to decline
Service intervals are reached

Regular maintenance ensures long-term reliability.

Transmission Fluid Selection Checklist

FactorWhat It Means
Correct fluid typeEnsures compatibility
Manufacturer specsPrevents damage
Driving conditionsDetermines fluid performance needs
Warning signsIndicates fluid issues
Service intervalsMaintains system health

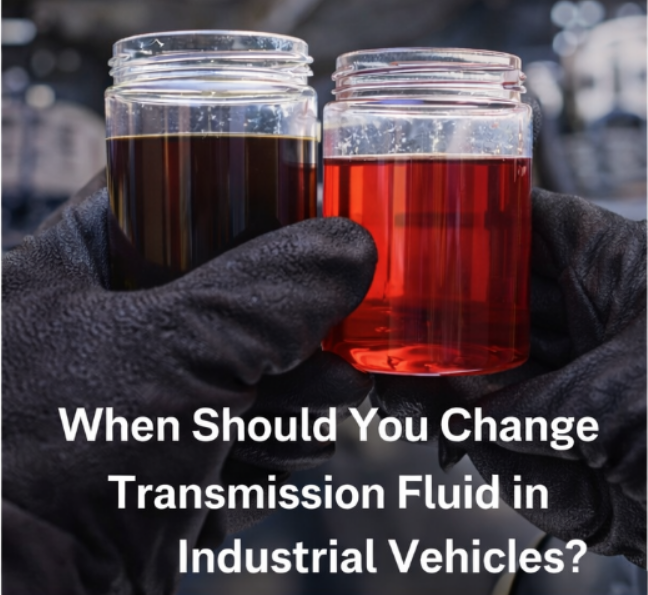
When Should You Change Transmission Fluid in Industrial Vehicles?

When Should You Change Transmission Fluid

Know the Signs Before Transmission Damage Occurs

Transmission fluid plays a critical role in keeping your gearbox running smoothly. It lubricates internal components, controls heat, and ensures proper gear shifting.

In industrial vehicles, where systems operate under heavy loads and demanding conditions, fluid breaks down faster than in standard vehicles. Knowing when to change your transmission fluid helps prevent overheating, wear, and expensive repairs.

Early servicing keeps your transmission reliable and extends its lifespan.

1. Dark or Burnt-Smelling Fluid

Transmission fluid should be clean and bright in appearance.

Look for:

Dark brown or black fluid
Burnt smell
Thick or dirty consistency

These signs indicate that the fluid has degraded and can no longer protect internal components effectively.

2. Delayed or Rough Gear Shifting

If your transmission is not shifting smoothly, fluid condition may be the cause.

Watch for:

Delayed gear engagement
Hard or jerky shifts
Slipping between gears

Poor fluid quality affects hydraulic pressure and reduces shifting performance.

3. Transmission Overheating

Overheating is one of the main causes of transmission failure.

Check for:

Warning lights on the dashboard
Unusual heat during operation
Loss of performance under load

Old fluid loses its ability to absorb and dissipate heat, increasing the risk of damage.

4. Increased Noise or Vibration

Unusual sounds or vibrations often indicate internal wear.

Common signs include:

Whining or grinding noises
Vibration during gear changes
Rough operation under load

These symptoms suggest the fluid is no longer providing adequate lubrication.

5. High Mileage or Extended Usage

Even without visible symptoms, fluid should be replaced at recommended intervals.

Consider changing fluid if:

The vehicle has reached service mileage limits
It operates under heavy loads regularly
Maintenance history is unclear

Regular servicing prevents long-term damage.

Transmission Fluid Replacement Checklist

Warning SignWhat It Means
Dark or burnt fluidFluid breakdown
Rough shiftingPoor hydraulic performance
OverheatingLoss of cooling ability
Noise or vibrationIncreased internal wear
High mileageService interval reached

How to Prevent Transmission Overheating in High-Load Applications

How to Prevent Transmission Overheating

Why High-Load Conditions Increase Risk

Vehicles operating under heavy loads, such as towing, hauling, or industrial use, place significant strain on the transmission. This increased demand generates excess heat, which can quickly exceed safe operating temperatures.

Without proper precautions, overheating becomes unavoidable, leading to fluid breakdown and component failure.

For commercial operators, preventing overheating is essential to maintaining reliability and avoiding downtime.

Step 1: Monitor Transmission Temperature

Temperature monitoring is the first line of defence against overheating.

Drivers and operators should
• Watch for warning lights
• Use temperature gauges where available
• Pay attention to performance changes

Early detection allows corrective action before damage occurs.

Step 2: Maintain Proper Fluid Levels and Quality

Transmission fluid plays a key role in cooling.

Ensure
• Fluid levels are always correct
• Fluid is replaced at recommended intervals
• Only approved fluid types are used

Clean fluid absorbs heat more effectively and protects internal components.

Step 3: Upgrade Cooling Systems for Heavy Use

Standard cooling systems may not be sufficient for high-load applications.

Consider
• Installing auxiliary transmission coolers
• Improving airflow to cooling units
• Upgrading cooling components for heavy-duty use

These upgrades significantly reduce operating temperatures.

Step 4: Avoid Overloading the Vehicle

Exceeding load limits places unnecessary strain on the transmission.

To prevent overheating
• Follow manufacturer load guidelines
• Distribute weight evenly
• Avoid excessive towing beyond capacity

Proper loading reduces stress and heat generation.

Step 5: Schedule Regular Inspections

Routine inspections identify potential issues early.

Technicians should check
• Cooler lines and connections
• Fluid condition
• Signs of wear or overheating
• Overall transmission performance

Regular servicing ensures the system remains reliable.

VORTEX VT – Supporting High-Performance Under Heavy Loads

Vortex VT provides specialised maintenance and cooling solutions for vehicles operating in demanding environments. Our team ensures transmissions remain reliable even under extreme conditions.

“Built for load. Maintained for longevity.”

Transmission Cooling Systems and Why Overheating Causes Failure

Transmission Cooling Systems

Why Cooling Systems Matter

Transmission systems generate significant heat during operation, especially under heavy loads or long driving periods. Without proper cooling, temperatures rise quickly, causing fluid breakdown and internal damage.

Overheating is one of the leading causes of transmission failure. A properly functioning cooling system ensures that fluid remains effective and components operate within safe temperature ranges.

At Vortex VT, maintaining correct transmission temperature is a key part of preventing costly repairs.

How Transmission Cooling Systems Work

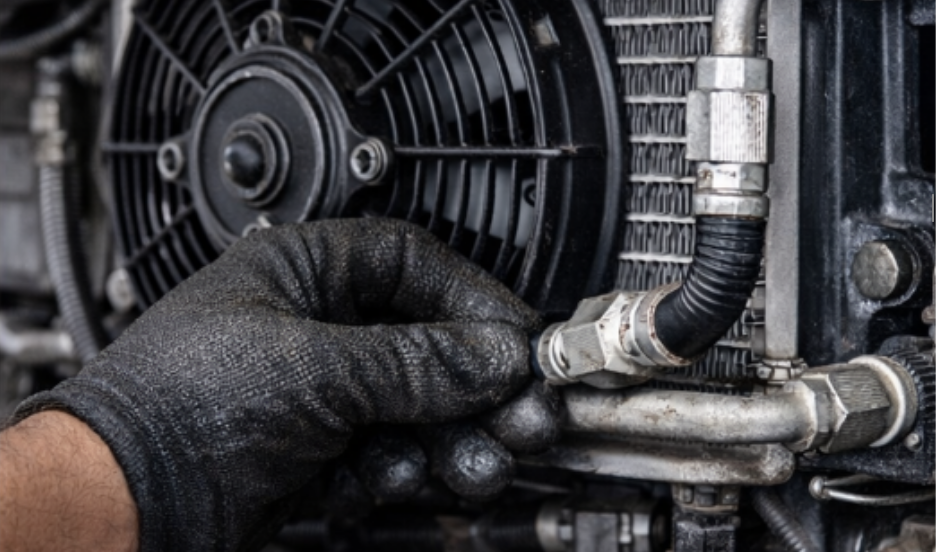
Transmission cooling systems regulate temperature by circulating fluid through a cooling unit.

Most systems include
• A radiator-integrated cooler
• External auxiliary coolers for heavy-duty use
• Cooler lines that carry fluid
• Cooling fans and airflow systems

Hot fluid leaves the transmission, passes through the cooler where heat is removed, and returns at a safe operating temperature.

What Happens When a Transmission Overheats

When cooling systems fail, fluid temperature rises beyond safe limits.

This leads to
• Breakdown of transmission fluid
• Increased friction between components
• Warping of internal parts
• Reduced lubrication
• Loss of hydraulic pressure

Once overheating begins, damage can escalate rapidly if not addressed.

Common Causes of Overheating

Low or Degraded Fluid
Old or insufficient fluid cannot absorb and dissipate heat effectively.

Blocked Cooler Lines
Debris or sludge restricts fluid flow, reducing cooling efficiency.

Faulty Radiator or Cooler
Damaged or clogged cooling units prevent proper heat exchange.

Heavy Load Conditions
Towing or carrying excessive weight increases heat production.

Poor Airflow
Blocked vents or faulty fans limit the cooling system’s effectiveness.

How to Prevent Overheating

• Replace transmission fluid at recommended intervals
• Inspect cooler lines and connections regularly
• Ensure cooling systems are clean and functioning
• Avoid excessive loads beyond vehicle limits
• Monitor temperature and performance

Preventative maintenance is the most effective way to control heat.

VORTEX VT – Keeping Your Transmission Cool and Reliable

Vortex VT provides cooling system inspections, repairs, and upgrades for both standard and heavy-duty vehicles. Our team ensures your transmission operates within safe temperature limits under all conditions.

“Control the heat. Protect the gearbox.”